
Industrial Double-Sided Tape for Automotive Door Sill Trim Bonding
Industrial Double-Sided Tape for Automotive Door Sill Trim Bonding
Industrial double-sided tape for automotive door sill trim bonding can attach metal or molded trim to a painted threshold without visible fasteners. The bond must accommodate a long, narrow part, curved body geometry, assembly variation, foot traffic, cleaning, temperature cycling, and possible moisture at the door opening. Tape selection therefore starts with the substrates and joint design, then moves through surface preparation, liner design, application pressure, conditioning, and vehicle-level validation.

Key Takeaways
- Identify the exact trim material, paint system, texture, curvature, and environmental exposure before choosing tape.
- Use foam thickness to accommodate realistic gaps, not to compensate for an unstable part or poor fixture.
- Design the bond path, end stops, liner tabs, drainage clearances, and placement datum together.
- Control cleaning, application pressure, dwell before loading, and rework as production parameters.
- Validate the complete trim assembly on representative painted bodies through the approved vehicle test plan.
Why Door Sill Trim Is a Demanding Tape Joint
Door sill trim is often long and relatively narrow. Even a small mismatch in curvature can apply continuous peel stress at the ends. The visible part may be stainless steel, coated aluminum, plated plastic, painted plastic, or a molded polymer with a decorative insert. The vehicle-side surface may include an automotive paint system, textured polymer, weld seam, step, drain path, or protective film.
Double-sided acrylic foam tape can distribute stress, hide the fastening system, and compensate for limited surface variation. Thin film or tissue carriers may suit flatter, lower-gap details. No carrier family is universally correct. The assembly team must quantify gap, stiffness, thermal movement, load direction, appearance requirement, and service exposure.
Double-Sided Tape Constructions to Compare
| Construction | Potential fit | Watch item |
|---|---|---|
| Acrylic foam tape | Long trim, limited gap compensation, and durable stress distribution | Thickness, viscoelastic movement, end peel, and paint compatibility |
| PE foam double-sided tape | Conformable mounting where a closed-cell foam is appropriate | Foam cohesion, environmental aging, and edge exposure |
| PET film double-sided tape | Thin, dimensionally controlled bond on flat mating surfaces | Limited gap filling and higher stress concentration |
| Nonwoven tissue tape | Lightweight flat lamination or preassembly | Moisture exposure, tear strength, and final service load |
| Transfer adhesive | Very thin bond where the trim itself supplies support | Handling, liner control, and no gap compensation |
Selection Data for Door Sill Trim
| Input | What to define | Why it matters |
|---|---|---|
| Vehicle surface | Paint or polymer family, gloss/texture, age, cleaner, contamination, and curvature | Surface chemistry and shape govern wet-out |
| Trim | Material, coating, stiffness, length, width, ribs, and dimensional tolerance | Part spring-back creates long-term stress |
| Joint | Bond width, path, gaps, corners, end conditions, and drainage zones | Geometry controls shear and peel distribution |
| Assembly | Temperature, cleaning, fixture, placement tolerance, pressure, and takt time | Pressure-sensitive tape performance depends on process control |
| Service | Temperature cycles, water, detergent, abrasion, passenger contact, and repair | Door openings combine environmental and mechanical exposure |
Match Adhesive to Both Surfaces
A tape bonds two different surfaces, and the weaker interface controls the joint. Painted metal, low-surface-energy plastic, coated metal, and decorative films can require different adhesive strategies or an approved primer. Ask for material-specific guidance and screen the exact production paint and trim lots. Never assume that a tape qualified on bare metal is also qualified on a textured polymer or coated trim.
Choose Thickness from the Gap Study
Measure the real gap distribution across body and trim tolerances. The foam should provide continuous contact under the defined application pressure without holding the trim visibly proud. Excess thickness can change appearance and increase leverage at an exposed edge; insufficient thickness can leave unbonded zones.
Design the Liner for the Station
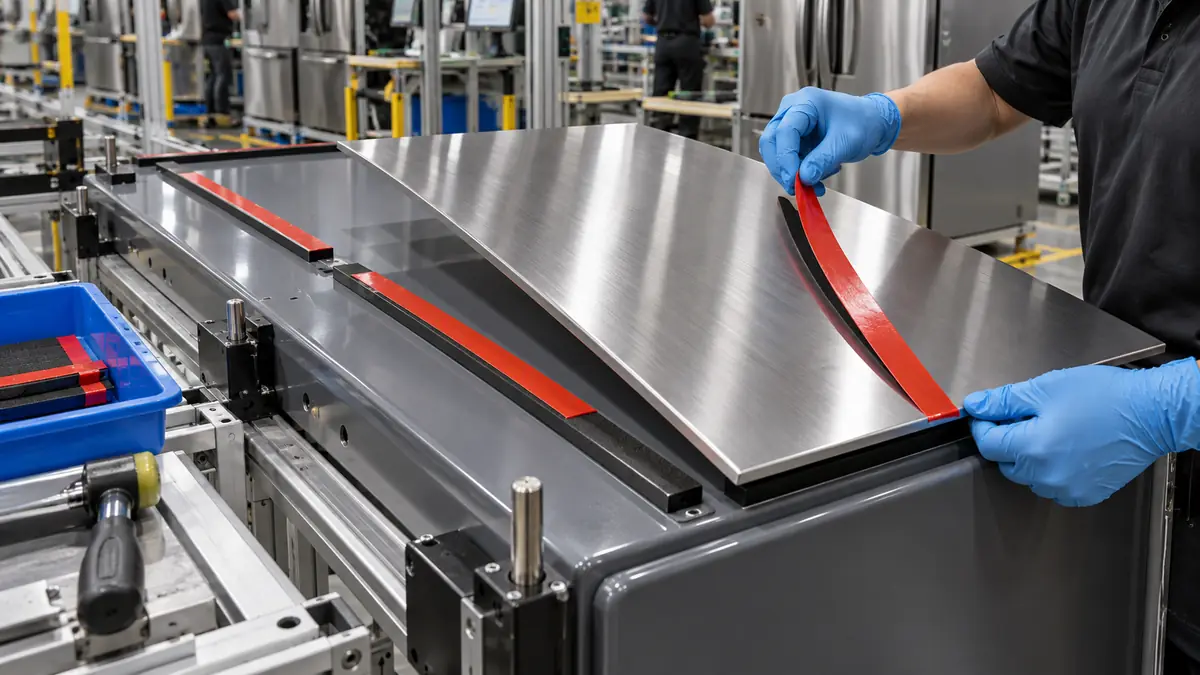
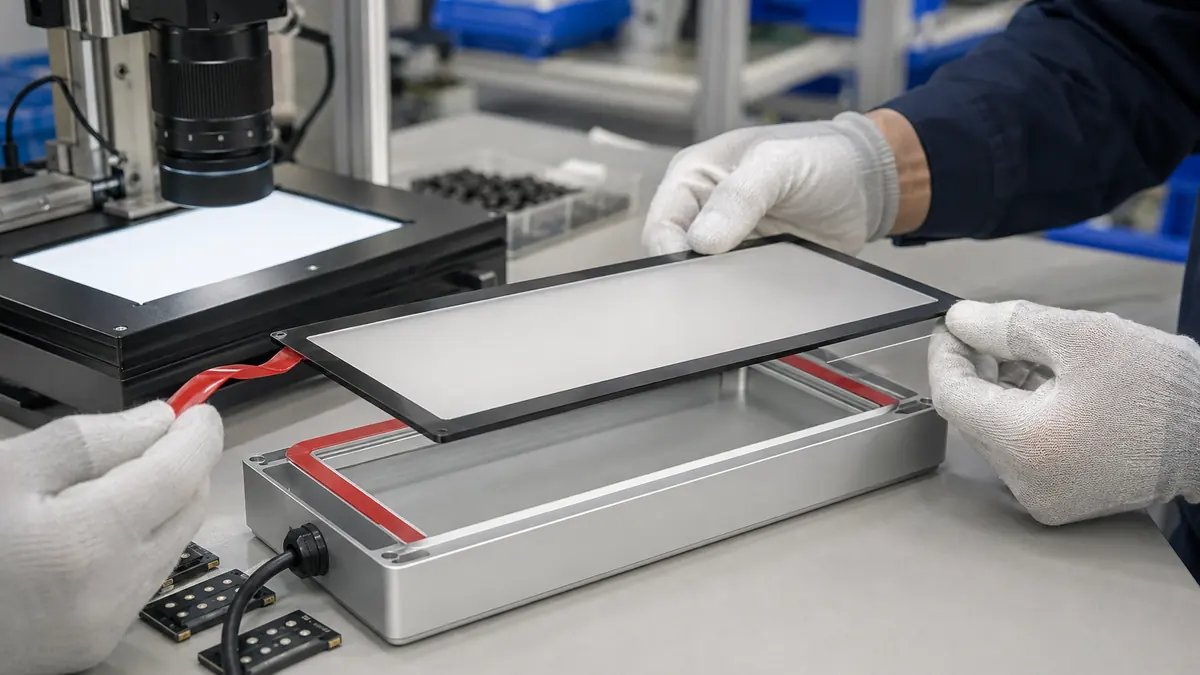
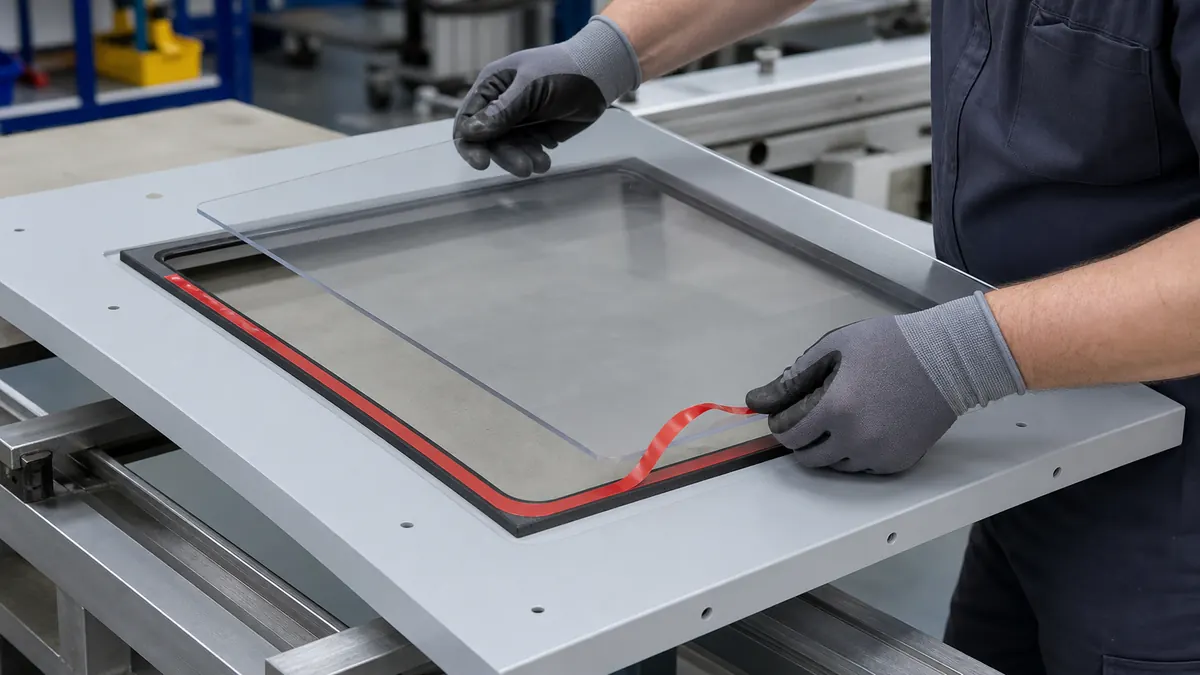
A red or other contrasting liner supports presence checks, but color alone does not prevent errors. Consider extended pull tabs, split liners, kiss-cut sections, and a removal sequence that allows accurate placement before the entire adhesive is exposed. The liner should not tear, leave fragments, or force the operator to touch the adhesive.
Controlled Assembly Workflow
- Verify materials. Confirm the trim version, tape construction, liner, and vehicle surface are released for the station.
- Inspect the parts. Reject warped trim, sharp burrs, damaged paint, condensation, heavy dust, mold release, or protective-film interference.
- Prepare both bond surfaces. Use the approved cleaner, wipes, technique, and drying time; apply primer only when specified by the validated process.
- Preapply the tape. Use a fixture or controlled guide to maintain the bond path, corners, end offsets, and drainage clearances.
- Roll down the tape. Apply uniform pressure to the trim-side bond without stretching the foam or trapping the liner.
- Locate the trim. Use body datums and temporary liner sections so the part cannot grab before alignment is correct.
- Remove the liner and press. Peel in the designed sequence, then apply defined pressure across the complete bond line.
- Condition and inspect. Protect the assembly from premature load, verify edge contact and flushness, and follow the approved dwell requirement before downstream tests.
Failure Modes and Corrective Direction
| Observed issue | Checks | Corrective direction |
|---|---|---|
| End lift | Trim spring-back, short tape path, low pressure, contamination, or early load | Correct part fit and end-joint design before increasing adhesion |
| Local hollow zone | Gap, body step, trim rib, low foam thickness, or fixture error | Map the gap and revise thickness or support geometry |
| Visible waviness | Uneven tape, excessive thickness, trapped liner, or inconsistent roll-down | Improve tape conversion and application fixture |
| Bond loss after washing | Edge exposure, incomplete wet-out, cleaner residue, or unqualified materials | Review surface preparation and environmental design |
| Trim difficult to rework | Access, adhesive strength, fragile finish, and missing removal method | Develop a controlled service procedure before launch |
Qualification and Production Controls
Start with material screening coupons, but finish with complete trim assemblies on representative painted bodies. Include tolerance extremes, curved ends, holes or ribs, aged paint where relevant, the production cleaning method, and real application tools. The approved plan may evaluate placement, flushness, peel or removal behavior, temperature cycling, moisture, cleaning agents, abrasion, and passenger contact without inventing acceptance values.
Monitor more than final bond strength. Audit cleaner condition, wipe use, surface temperature, fixture datum, tape location, liner fragments, roll-down pressure, and dwell before loading. Supplier, adhesive, foam, thickness, liner, primer, paint, trim coating, or geometry changes should enter formal change control.
Related Products and Articles
- Explore the industrial double-sided tape range.
- Review the PE foam tape buying guide.
- Compare another appearance-critical joint in the appliance control panel bonding guide.
- Send the trim drawing and substrate stack for a tape discussion.
Frequently Asked Questions
Is acrylic foam tape always the best choice for door sill trim?
No. Acrylic foam is a strong candidate when stress distribution and limited gap compensation matter, but thin film, PE foam, tissue, or transfer constructions may suit other trim and service conditions. Compare the complete joint.
Can thicker foam correct a warped trim part?
Tape should not be used to hide an unstable part. A gap study can identify the thickness needed for normal tolerance, but excessive spring-back or warpage should be corrected in the trim, fixture, or joint design.
Is primer always required on painted vehicle surfaces?
No universal rule applies. Primer use depends on the validated adhesive, paint or polymer, contamination risk, and process. Use only an approved primer and control its application, drying, and changeover.
How soon can the bonded trim be loaded?
Follow the qualified assembly specification. Adhesive wet-out and bond development depend on surface, temperature, pressure, tape construction, and time, so downstream handling limits should be defined during validation.
What should be included in an RFQ?
Provide trim and vehicle-side materials, coatings, dimensions, bond path, gap study, service environment, assembly temperature, cleaning and primer limits, liner design, quantity, application method, and validation plan.
Evaluate Tape for Door Sill Trim
Share the trim CAD or drawing, substrate and coating details, gap distribution, bond path, liner sequence, assembly conditions, and test plan. JIAO TAO TAO can help shortlist a double-sided tape construction for controlled evaluation.
Industrial Double-Sided Tape for HVAC Acoustic Foam Bonding
Industrial Double-Sided Tape for Air Filter Frame Assembly
Related Article

Need help choosing the right industrial tape?
Send us your application details, including temperature, surface material, size, quantity and current problem. Our team will help recommend a suitable tape material or custom die-cut solution.

simon@jiaotaotao.com


+86-136 1277 5969


+86-136 1277 5969
