
Acetate Cloth Tape for Loudspeaker Voice Coil Lead Insulation
Acetate Cloth Tape for Loudspeaker Voice Coil Lead Insulation
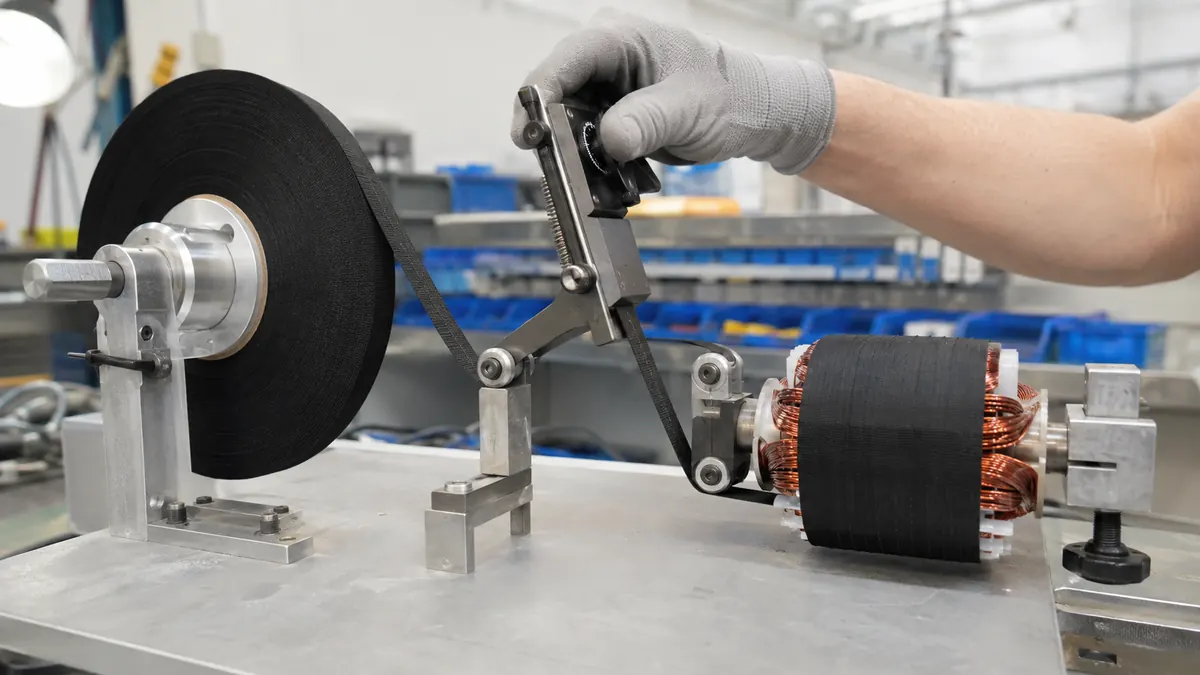
Acetate cloth tape for loudspeaker voice coil lead insulation can secure and protect a selected lead-out transition where flexible conductors leave the winding or former. Its conformable woven backing may follow small cylindrical geometry and provide local abrasion protection without the spring-back of a stiff film. The tape must not restrict the moving assembly, enter the magnetic gap, add uncontrolled mass, or replace the loudspeaker designer’s electrical, adhesive, fatigue, and acoustic validation.

Key Takeaways
- Define whether the tape provides lead retention, abrasion protection, strain distribution, layer holding, or a process aid.
- Control tape width, wrap count, overlap, tension, edge location, mass, and finished outside diameter.
- Keep tape, adhesive, and loose fibers out of the magnetic gap and away from unapproved bonding or acoustic surfaces.
- Evaluate compatibility with former coatings, wire enamel, lead adhesive, varnish, solvents, and cure processes.
- Validate the completed driver for rub, buzz, travel, fatigue, thermal exposure, and electrical performance using the owner’s test plan.
What Acetate Cloth Tape Can Do at the Voice Coil Lead
A loudspeaker voice coil combines fine winding wire, a former, flexible lead-outs, bonding materials, a cone or diaphragm, suspension components, and a narrow magnetic gap. The transition from winding to lead is mechanically sensitive because the conductor changes direction and may move repeatedly with the assembly. A controlled cloth-tape patch or wrap can hold the lead against an approved surface, protect an edge, support an adhesive layer, or reduce local rubbing during later handling.
The tape is not automatically suitable for every speaker. Added mass, thickness, stiffness, asymmetry, adhesive squeeze-out, or a lifted edge can change clearance and motion. The voice-coil designer must define the allowed zone, moving mass budget, balance, gap clearance, temperature, and downstream bonding sequence. Do not infer acoustic or electrical performance from the generic tape family alone.
Possible Tape Locations and Their Control Points
| Location | Possible function | Main control point |
|---|---|---|
| Outer winding-to-lead transition | Local retention and abrasion protection | Lead bend radius, tape edge, overlap, and added build |
| Former surface above the winding | Holding a lead against an approved path | Clearance, balance, adhesion, and no gap intrusion |
| Lead crossing or splice | Separating and supporting conductors where specified | Electrical spacing, solder or adhesive joint, and fatigue |
| Temporary assembly position | Keeping a lead controlled before cone or diaphragm bonding | Whether tape remains, removal damage, and adhesive transfer |
| Outer coil wrap | Surface holding or protection in approved constructions | Mass, heat transfer, coil diameter, and moving clearance |
Information Required Before Selecting Tape
| Parameter | What to document | Why it matters |
|---|---|---|
| Moving geometry | Former diameter, winding height, gap, lead path, excursion envelope, and balance requirements | Defines the safe tape zone and total allowable build |
| Contacted materials | Former, wire enamel, lead braid, solder joint, adhesives, varnish, cone, and coatings | Controls adhesion and chemical compatibility |
| Tape construction | Backing weave, thickness, adhesive family, width, color, roll format, and storage | Controls conformability, mass, handling, and retention |
| Assembly process | Winding, lead forming, bonding, curing, centering, gap cleaning, and final assembly | The tape must remain compatible through every step |
| Service conditions | Coil temperature, excursion, duty cycle, vibration, humidity, and expected life | Guides conditioning and fatigue evaluation |
| Acceptance plan | Dimensions, mass, rub-and-buzz, impedance, excursion, fatigue, thermal, and acoustic checks | Defines whether the complete driver remains acceptable |
Choose Width From the Former and Lead Path
A wide tape may reduce the number of wraps but can wrinkle on a small former, add unnecessary mass, or approach the gap. A narrow tape follows a local transition more easily but creates more edges and operator steps. Use the released drawing to set width, start and finish positions, overlap, and orientation rather than allowing the operator to trim by eye.
Control Tension and Added Build
Excess tension can shift the winding, flatten a braided lead, reduce the intended bend radius, or store stress that appears after heat cycling. Too little pressure can leave a loose edge that rubs or traps debris. Record the application method and inspect the finished diameter or profile with a gauge that does not damage the coil.
Review Adhesive and Cure Compatibility
The tape may contact solvent-based or reactive adhesives, varnish, cleaning agents, and elevated-temperature cure cycles. Screen for swelling, adhesive migration, discoloration, fiber release, delamination, and interference with nearby bonds. The final voice-coil assembly, not an isolated tape coupon, is the meaningful qualification specimen.
Recommended Application and Validation Workflow
- Confirm the released coil drawing. Mark tape function, start, direction, overlap, finish, lead path, forbidden zones, and dimensional limits.
- Inspect the coil and lead. Check wire position, enamel damage, splice condition, former defects, debris, and lead forming before covering the transition.
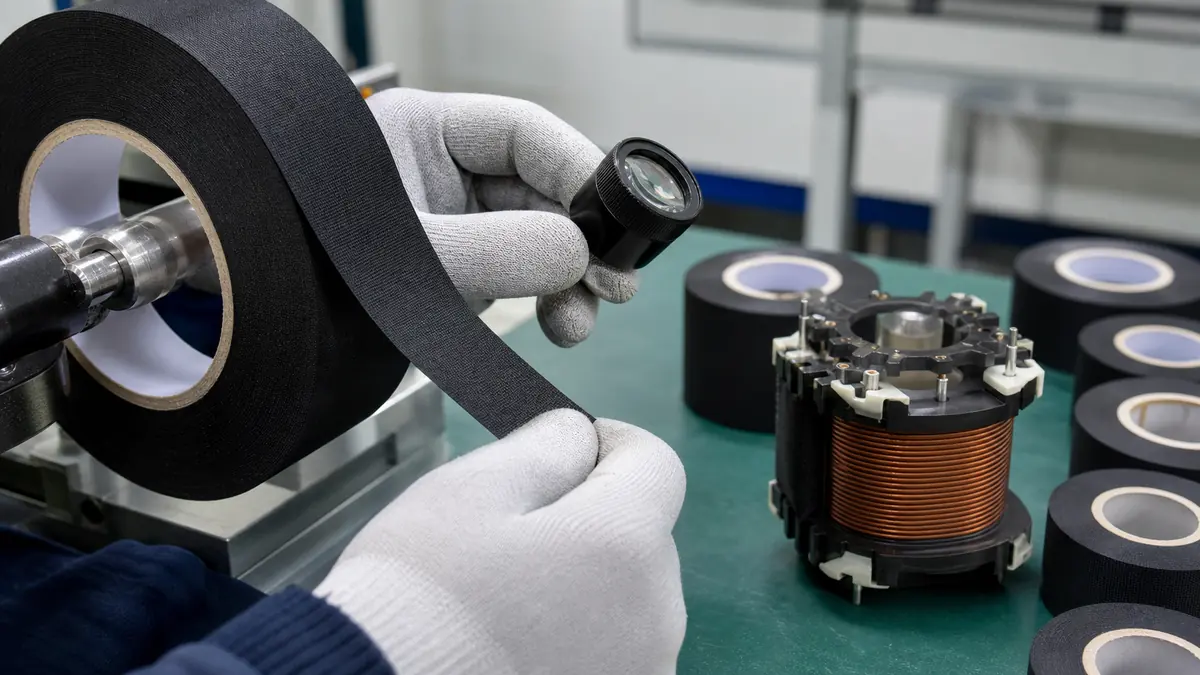
- Verify tape identity. Record grade, width, lot, shelf condition, storage history, and any slit-edge requirement.
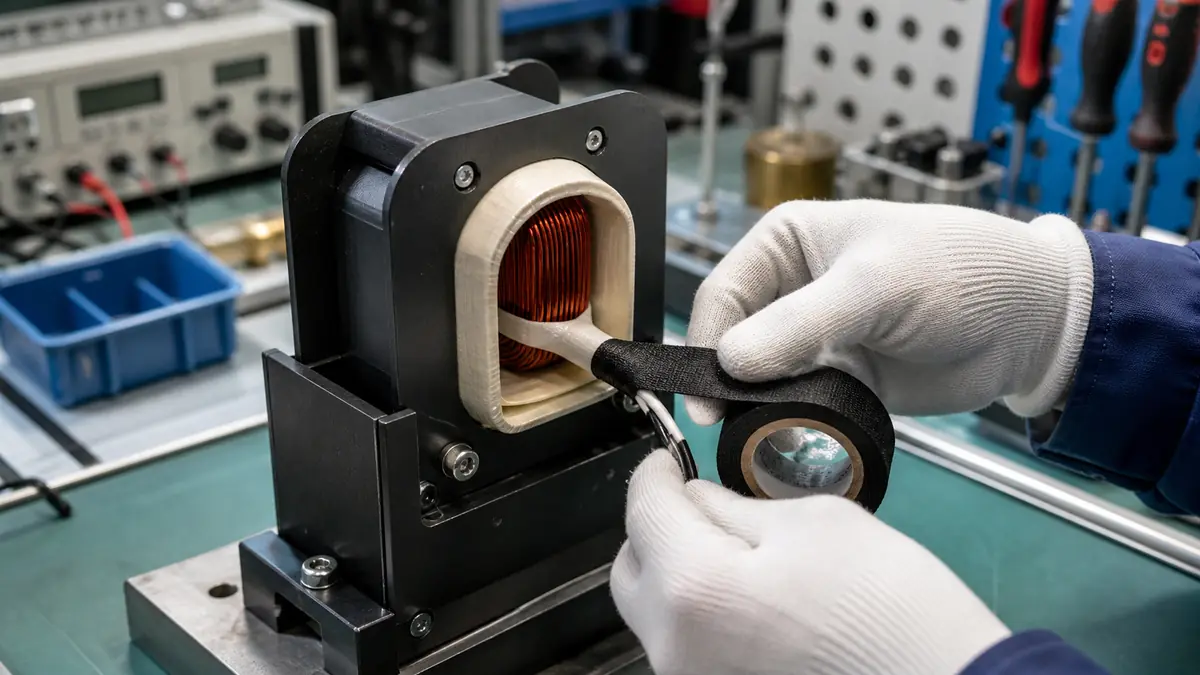
- Apply on the approved surface. Keep the first edge square and keep adhesive away from the gap, exposed conductors, and unapproved bond areas.
- Wrap or patch with controlled pressure. Maintain lead bend radius and avoid shifting the winding or former.
- Finish on a robust zone. Cut with a clean tool away from the coil and press the end without creating a bulky step.
- Inspect before driver assembly. Check wrinkles, edge lift, exposed conductor, overlap, diameter, mass, lead clearance, and foreign material.
- Run the real downstream process. Include bonding, cure, centering, gap cleaning, cone assembly, and conditioning.
- Complete driver-level tests. Use the product owner’s electrical, mechanical, thermal, fatigue, rub-and-buzz, and acoustic acceptance plan.
Common Problems and Corrective Directions
| Observed problem | Likely checks | Corrective direction |
|---|---|---|
| Tape edge approaches the magnetic gap | Wrong start point, excessive width, wandering wrap, or part variation | Revise the width, datum, fixture, and visual standard |
| Lead is pinched or sharply bent | High tension, wrong wrap direction, missing support, or poor lead forming | Protect the bend radius and release application tension |
| Edge lifts after cure | Surface contamination, chemical incompatibility, stored stress, or inadequate pressure | Review preparation, material system, tension, and cure profile |
| Driver develops rub or buzz | Added build, imbalance, loose edge, debris, or shifted moving assembly | Stop release and investigate the complete coil and driver assembly |
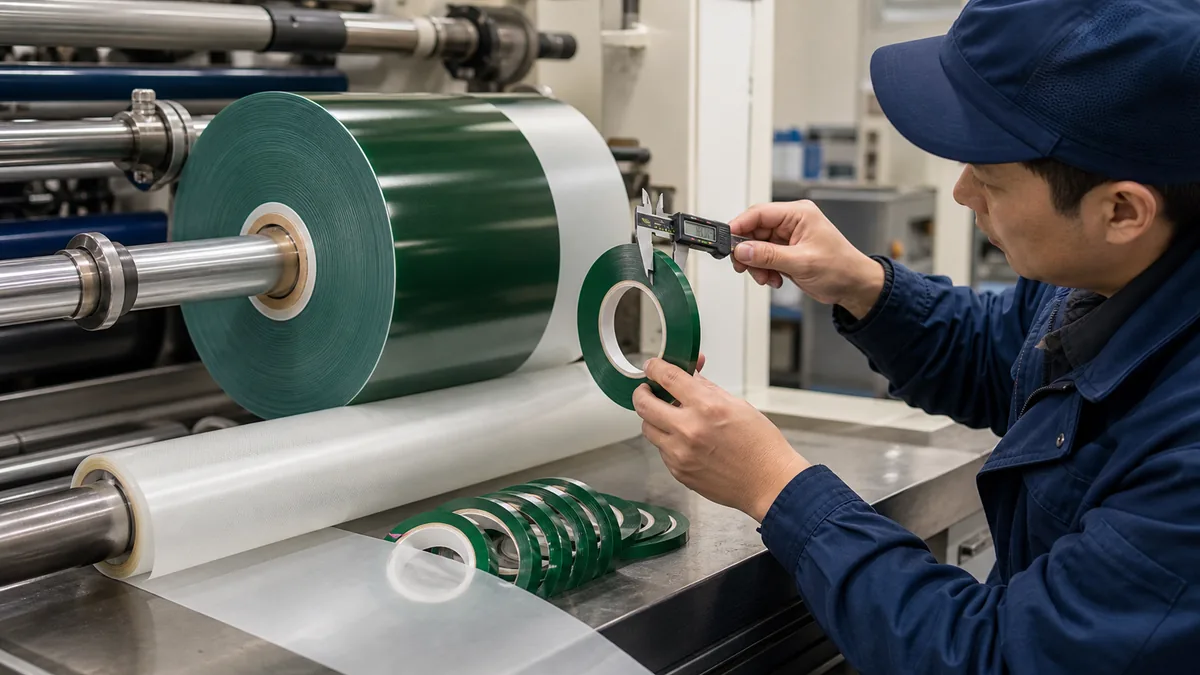
| Fibers or particles appear in the gap | Damaged slit edge, poor cutting, handling, abrasion, or housekeeping | Improve converting quality, handling, cleanliness, and inspection |
Related Products and Articles
- Explore the acetate cloth tape range for conformable electrical wrapping constructions.
- Review what acetate cloth tape is used for and which selection factors matter.
- Compare another small winding application in the relay coil wrapping guide.
- Share the voice-coil drawing and assembly process for tape-selection support.
Frequently Asked Questions
Can acetate cloth tape be used on a loudspeaker voice coil?
It can be evaluated for an approved local retention, insulation-support, or abrasion-protection function. The complete moving assembly must still meet clearance, mass, fatigue, thermal, electrical, and acoustic requirements.
Can the tape enter the magnetic gap?
No. Tape, adhesive, loose fibers, and fragments should remain outside the gap and the full movement envelope defined by the loudspeaker designer.
How many wraps should be used?
Use the number, overlap, and position released on the coil drawing. Extra wraps add mass, thickness, stiffness, and more possible edges, so “more” is not automatically safer.
Can the tape go through adhesive or varnish curing?
Only after the exact tape, contacted materials, chemicals, cure profile, and finished-driver tests have been qualified together. Compatibility cannot be inferred from backing material alone.
What should an RFQ include?
Provide the former and winding drawing, lead path, tape function, allowed zone, width and thickness limits, overlap, mass target, downstream adhesives and cure, service conditions, test plan, and production volume.
Plan a Voice Coil Lead Insulation Trial
Share the voice-coil former, winding and lead geometry, magnetic-gap clearance, tape function, width and build limits, moving-mass requirement, contacted adhesives, cure profile, duty cycle, and driver-level validation plan. JIAO TAO TAO can help shortlist an acetate cloth tape construction for qualification.
Contact the technical team about loudspeaker voice-coil tape.
Acetate Cloth Tape for Film Capacitor Outer Wrapping
Acetate Cloth Tape for Ignition Coil Wrapping
Related Article
Need help choosing the right industrial tape?
Send us your application details, including temperature, surface material, size, quantity and current problem. Our team will help recommend a suitable tape material or custom die-cut solution.

simon@jiaotaotao.com


+86-136 1277 5969


+86-136 1277 5969
