
PE Protective Film Removal Time: Plan the Full Exposure
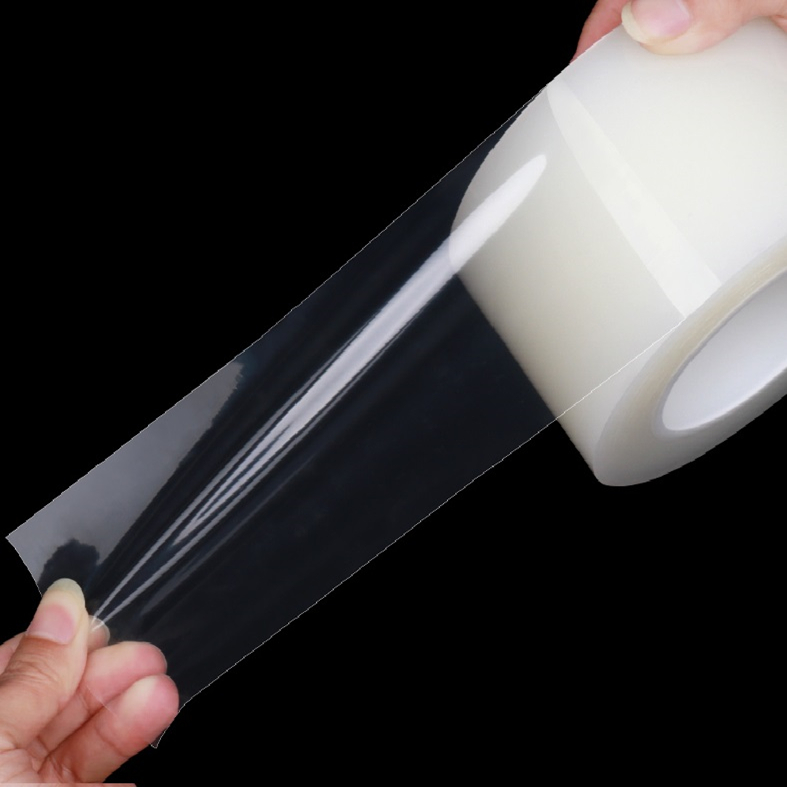
PE protective film removal time should cover the whole period from application to final peeling, including processing, transport and storage while the film remains attached. Remove it when protection is no longer needed, within the conditions agreed for that film and surface. There is no single safe number of days for every PE film, coating and environment.
For a production or purchasing team, the useful question is whether the proposed film releases acceptably at the end of the real journey. A quick peel from a fresh sample cannot answer that on its own.
1. Record the full applied exposure
Separate storage of an unopened roll from storage of a protected part. Roll storage follows the supplied storage instructions. Once the film is applied, time spent waiting for assembly, travelling in a shipment or sitting in finished-goods storage all belongs in the removal plan. Moving the part to another department does not restart that record.
Keep a simple record with the film reference and batch, surface finish, application date, process stages, exposure conditions and intended removal point. Include a delayed-shipment scenario if it is realistic for the order. Record measured part temperatures where available; a warehouse air reading does not describe every process the covered surface experienced.
2. Match the film to the finished surface
PE identifies the film material, not the complete protection system. Confirm whether the sample is adhesive-coated or a static-cling construction. Do not treat those descriptions as interchangeable, or transfer an adhesive-coated film trial to a static-cling product. Ask for the exact construction being supplied.
Then identify what the film actually touches: bare metal, a painted finish, a textured plastic or an optical coating. Test the finished surface, not an unrelated raw sheet. A change in coating supplier, cure condition or surface texture can justify another evaluation. A surface that feels dry is not sufficient evidence that every coating process is complete.
Start with the JIAOTAOTAO PE protective film product page, then confirm the proposed variant. A general product description does not establish compatibility with every lens, polished finish or treatment.
3. Qualify a practical removal window
Use representative finished parts and the intended application method. Agree the acceptance criteria before starting, including appearance, handling and any operation that follows film removal. The following trial sequence makes the result easier to use:
- Establish a baseline. Photograph the uncovered finish and retain an untreated comparison area or matching control part.
- Apply consistently. Use the planned cleaning and lamination conditions. Record bubbles, wrinkles or edge lift rather than correcting them without a note.
- Follow the process. Include the handling, packaging, temperature changes and storage that the protected part will actually encounter.
- Check intermediate stages. Remove separate samples at useful process checkpoints, then at the planned final removal point and a realistic delay point.
- Record the outcome. Note peel behaviour, tearing, residue and surface appearance. Retain the film and affected sample if something changes.
Choose the checkpoints around the job; do not borrow a calendar limit from an unrelated film. If outdoor exposure is possible, request a specifically supported exposure recommendation and include that condition in qualification. Film colour alone does not establish UV performance.
4. Inspect the surface during removal
Use the removal method agreed for the sample and surface. Start on a test area, support delicate parts and watch how the film separates. If it becomes difficult to peel, stretches excessively or breaks into fragments, pause before repeating the same approach across the whole batch. Do not add heat or a solvent without checking the finish and the film guidance.
Inspect against the untreated control under consistent lighting. Look for adhesive transfer, haze, gloss changes, staining, coating lift and edge marks. If printing, bonding or another sensitive operation follows, include that operation in the evaluation; a visually clean surface is not the only relevant acceptance check.
5. Review changes before extending the schedule
A longer hold time, a hotter process or an outdoor storage stage changes the trial conditions. Exposure to sunlight can affect a film's integrity, while temperature and the film-to-surface interaction can change removal behaviour. A successful indoor sample does not automatically qualify the same film for an outdoor delay.
If residue or surface damage appears, isolate the affected parts and record the film lot, finish lot and exposure history. Test any proposed cleaning method on a sacrificial sample with the finish supplier's approval. Feeding those observations back into film selection is more useful than simply requesting stronger adhesion or assuming a weaker adhesive will solve every problem.
6. Frequently asked questions
How many days can PE protective film stay on a surface?
There is no universal number. Use the recommendation for the exact film and surface, then qualify the full applied exposure through your process. Include storage and shipment before removal, and assess a realistic delay rather than checking only a newly applied sample.
Does time in finished-goods storage count?
Yes, if the film is still attached. Record that time with the earlier processing and transport stages. Storage of an unused roll is a separate condition and should follow the roll's supplied storage instructions.
Are static-cling film and light-tack PE film the same?
No. Confirm whether the proposed construction uses an adhesive coating or a static-cling mechanism. They need their own surface and handling evaluation; a clean-release result from one construction should not be used as approval for the other.
Does a clean peel prove the part is ready for bonding?
Not by itself. Check the downstream bonding process on representative parts after removal. Agree the surface acceptance checks with the process owner, particularly where an invisible surface change could affect the next operation.
7. Send the details needed for a useful sample trial
For a JIAOTAOTAO sample discussion, send the finished material and coating description, part photographs, application method, full applied timeline, temperature and sunlight exposure, and the required condition after removal. Add film width, coverage shape and order quantity. If handling needs a shaped piece, include a drawing for custom die-cut evaluation.
Contact JIAOTAOTAO with your surface sample and removal plan so the discussion starts with the actual job rather than an unsupported day-count promise.
Butyl Flashing Tape Corners: Folds, Laps and Sample Checks
Microprismatic vs Glass Bead Reflective Tape: Selection Guide
Related Article

Need help choosing the right industrial tape?
Send us your application details, including temperature, surface material, size, quantity and current problem. Our team will help recommend a suitable tape material or custom die-cut solution.

simon@jiaotaotao.com


+86-136 1277 5969

+86-136 1277 5969
